The time has finally come to get our Great British Hardtail dirty, so let's look back at the process of making it and the UK-designed and/or made parts we used to build it up
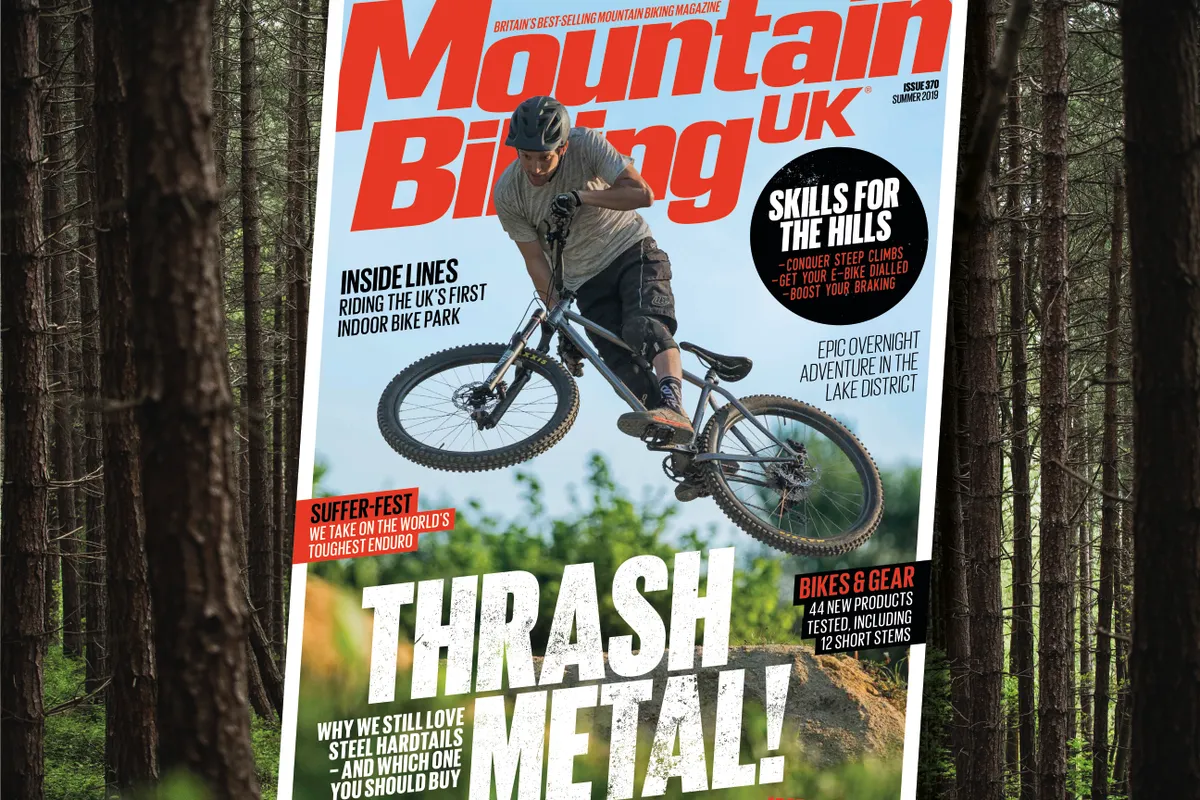
This month was an exciting time for us, as we finally got the chance to put tyres to dirt aboard our Great British Hardtail. Our summer 2019 issue (MBUK 370, on sale now) tells the story of how we got on when we packed our steel-framed steed into the van and headed for the Steel City of Sheffield, for a proper shakedown on some proper 'ard northern trails. Did it ride as we'd hoped it would? Grab a copy of the mag to find out!
Below is a short resume of the what it's taken to get to this point – from the design of the frame to the measuring, cutting, brazing and painting that went into making it and finally building it up into a fully rideable bike...
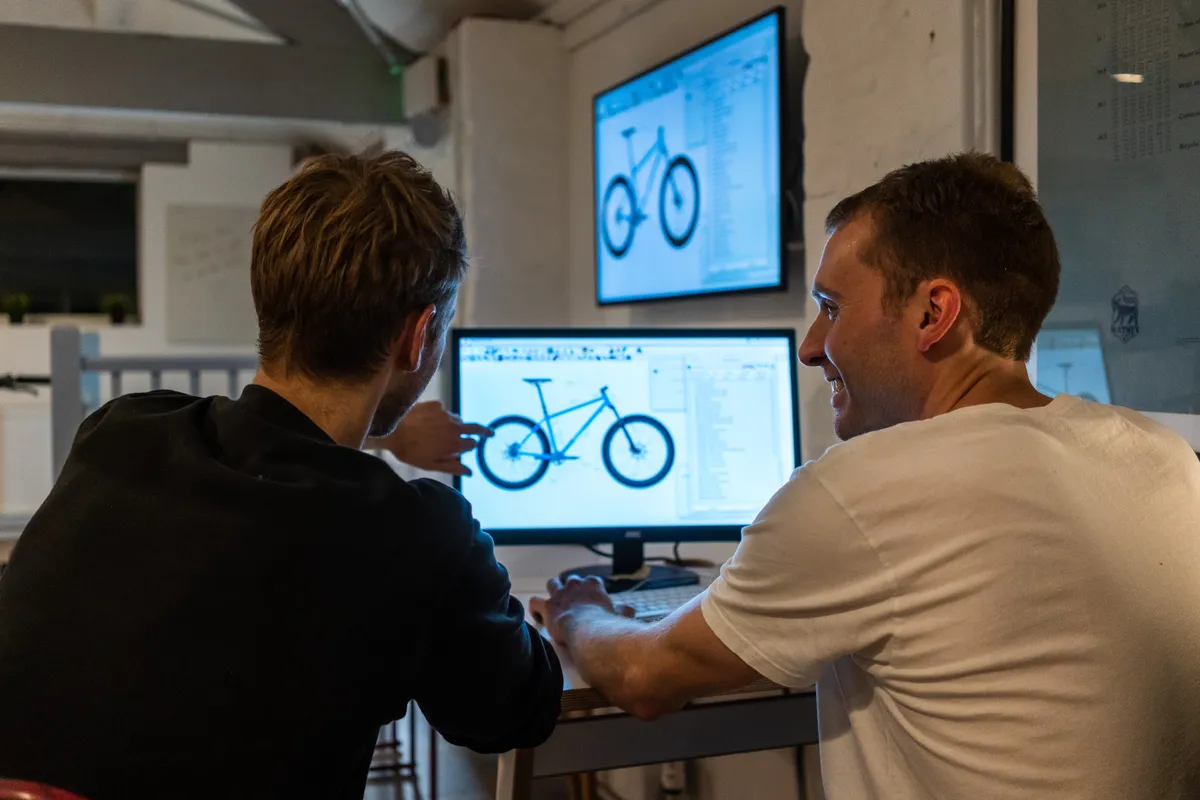
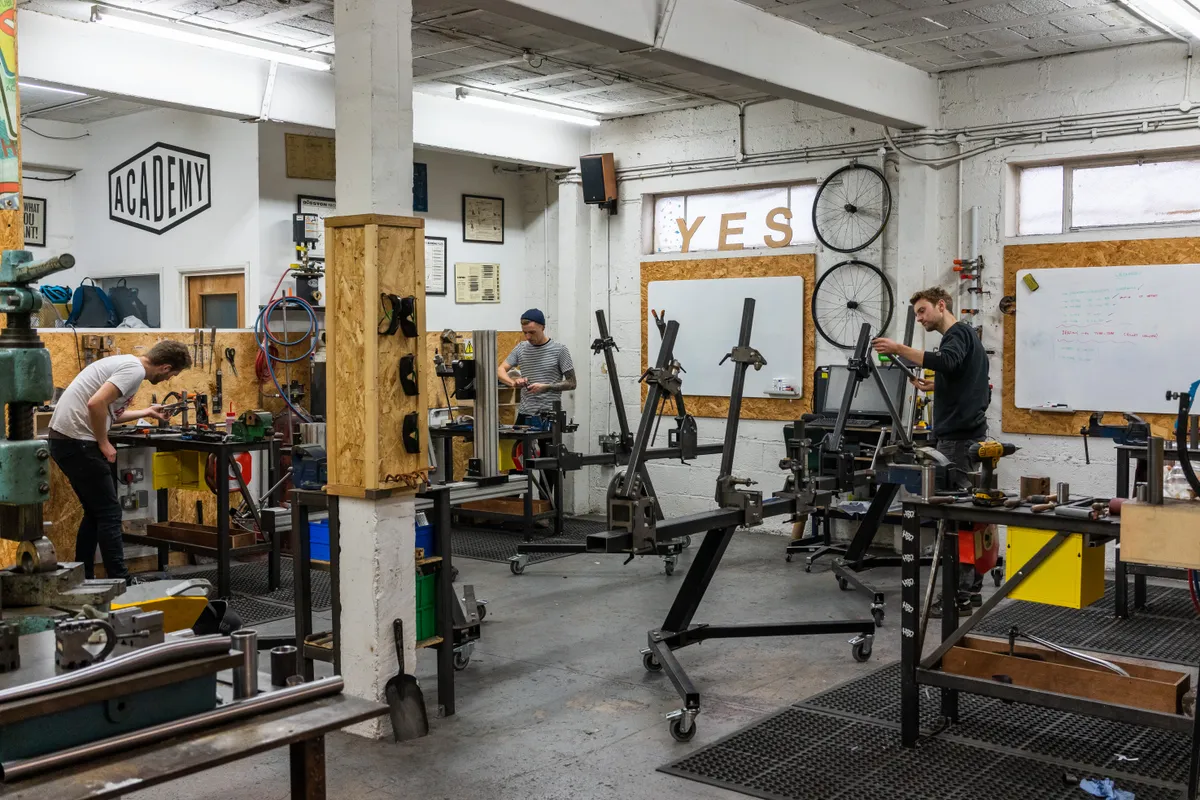
Ed and Tom Study from The Bicycle Academy talk through the finer points of the bike's design. Photo: Ben Ripley
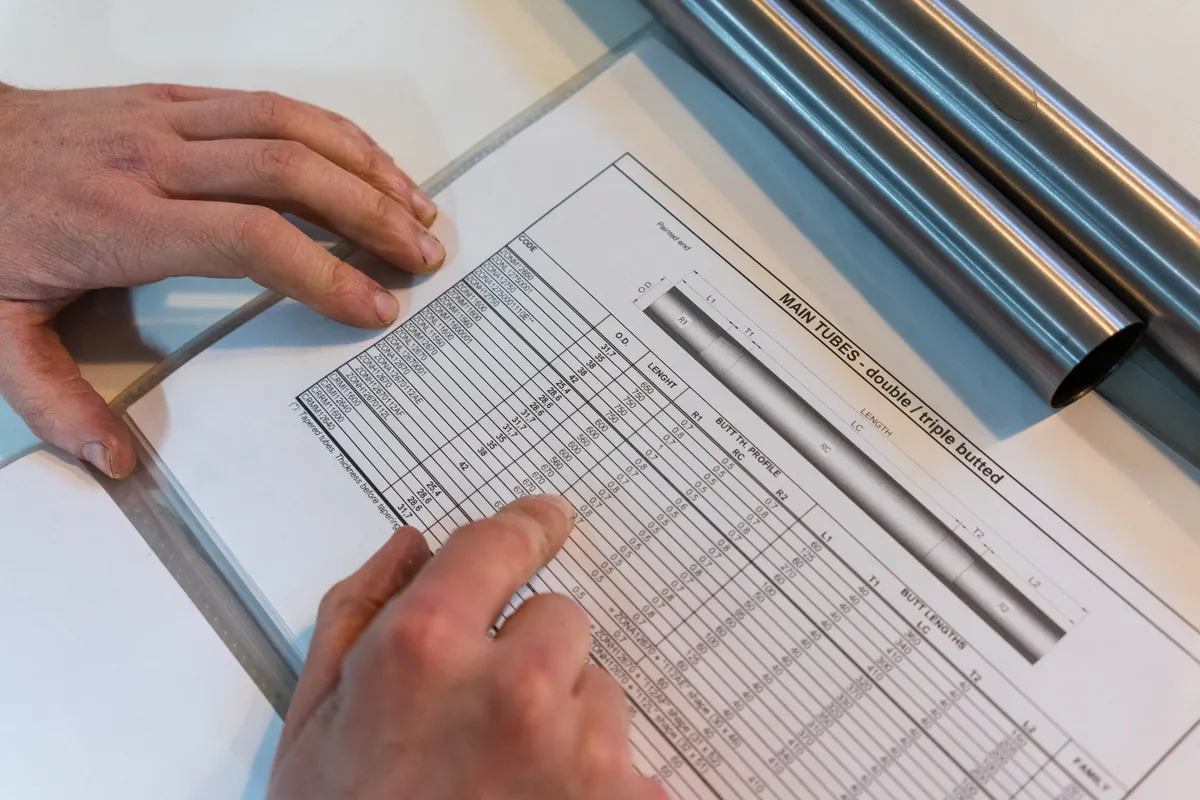
Choosing steel tubing from the enormous catalogues of different options is a complicated process, but luckily we had The Bicycle Academy to guide us. Photo: Ben Ripley
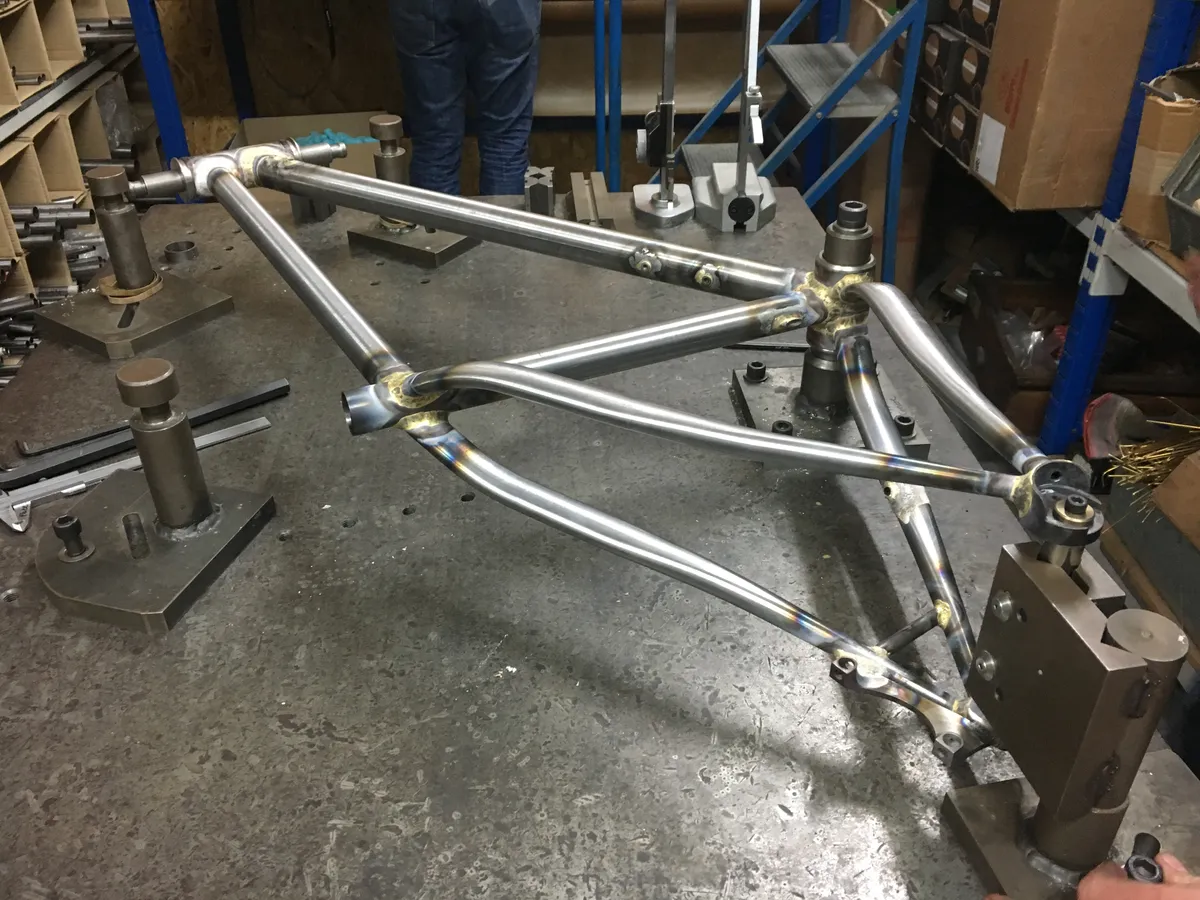
A frame in all its constituent parts. Photo: Ben Ripley
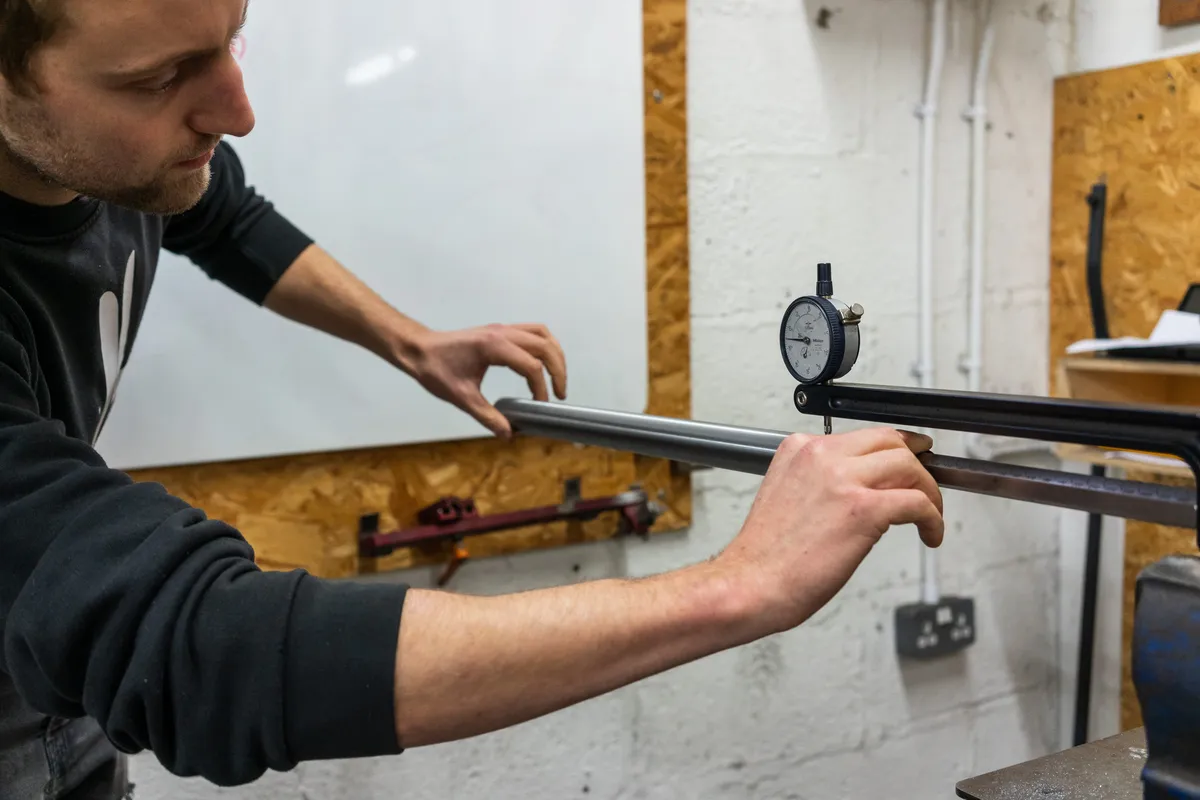
Checking the wall thickness (butted length) of our downtube using a butt-checker (yep, it's really called that!) Photo: Ben Ripley
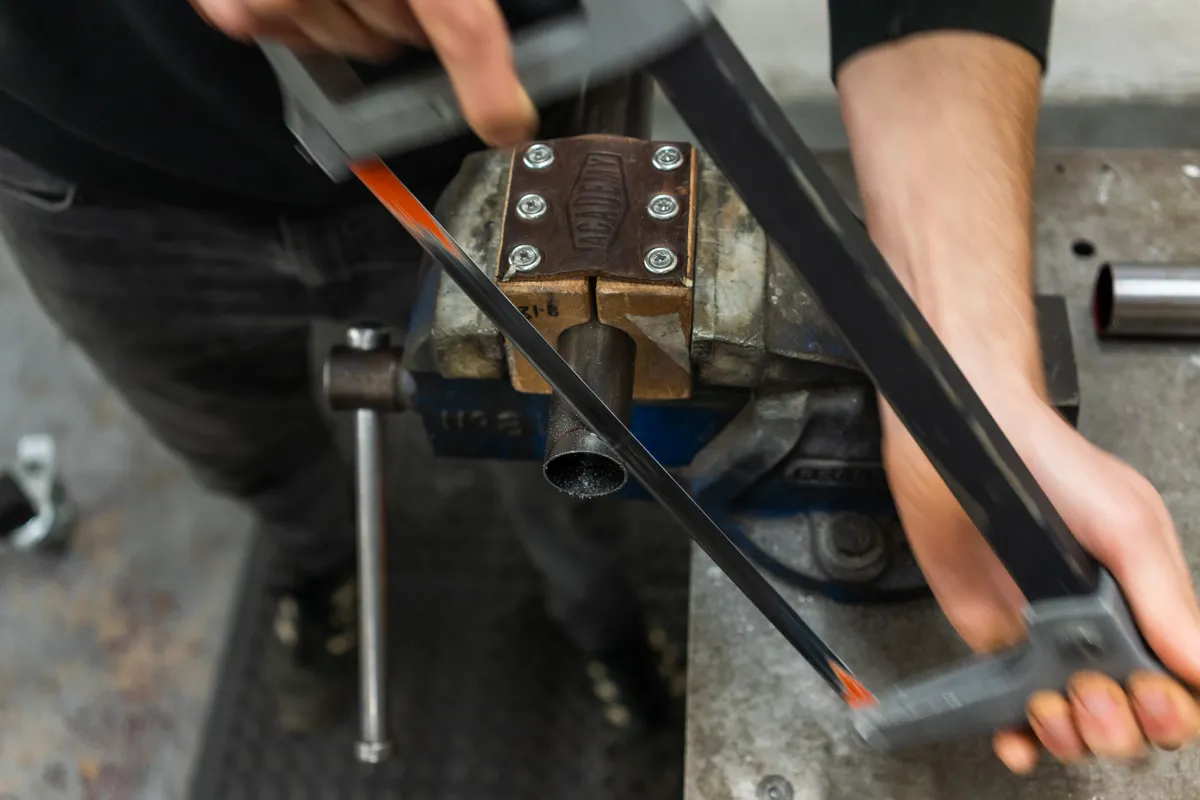
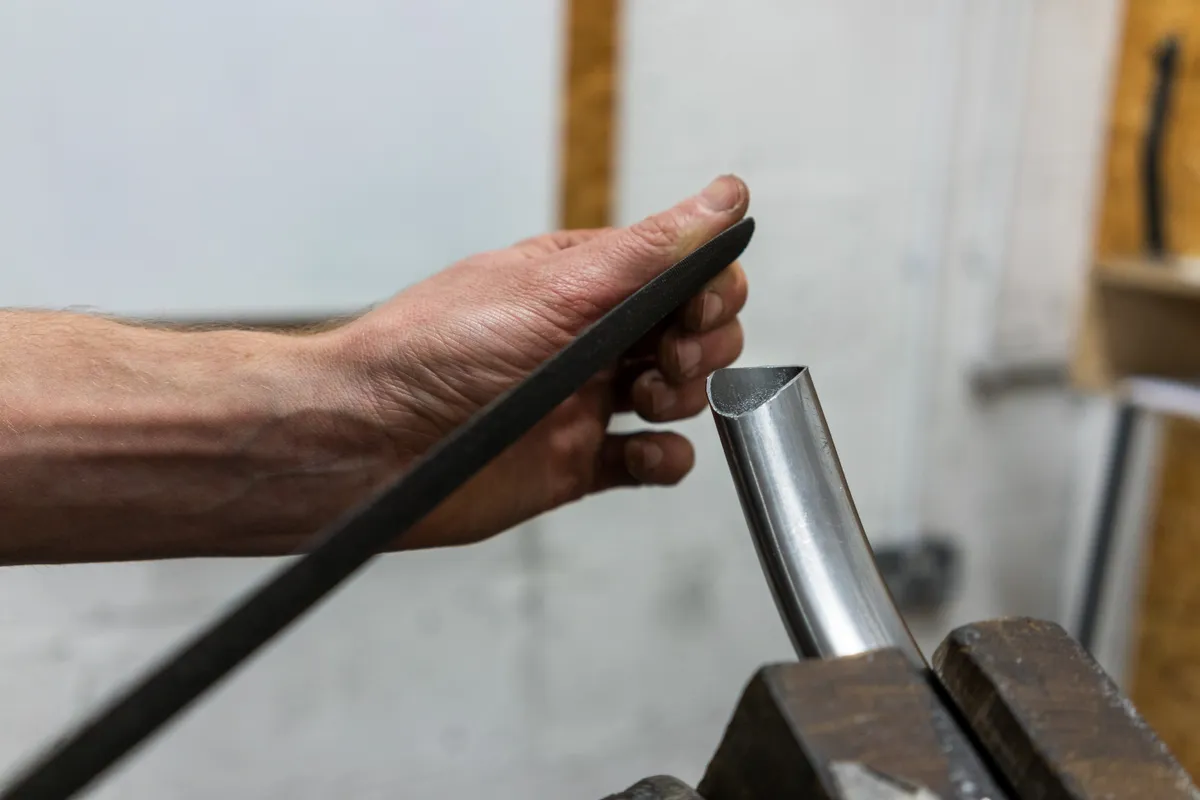
Mitres in the tubes were cut and filed by hand. Photo: Ben Ripley
Producing each mitre takes a lot of precise filing and offering the tube up to the frame frequently to check you're not removing too much material. Precision here makes for a stronger bike in the long run. Photo: Ben Ripley
Checking tyre and chainring clearance on the chain stays. Photo: Ben Ripley
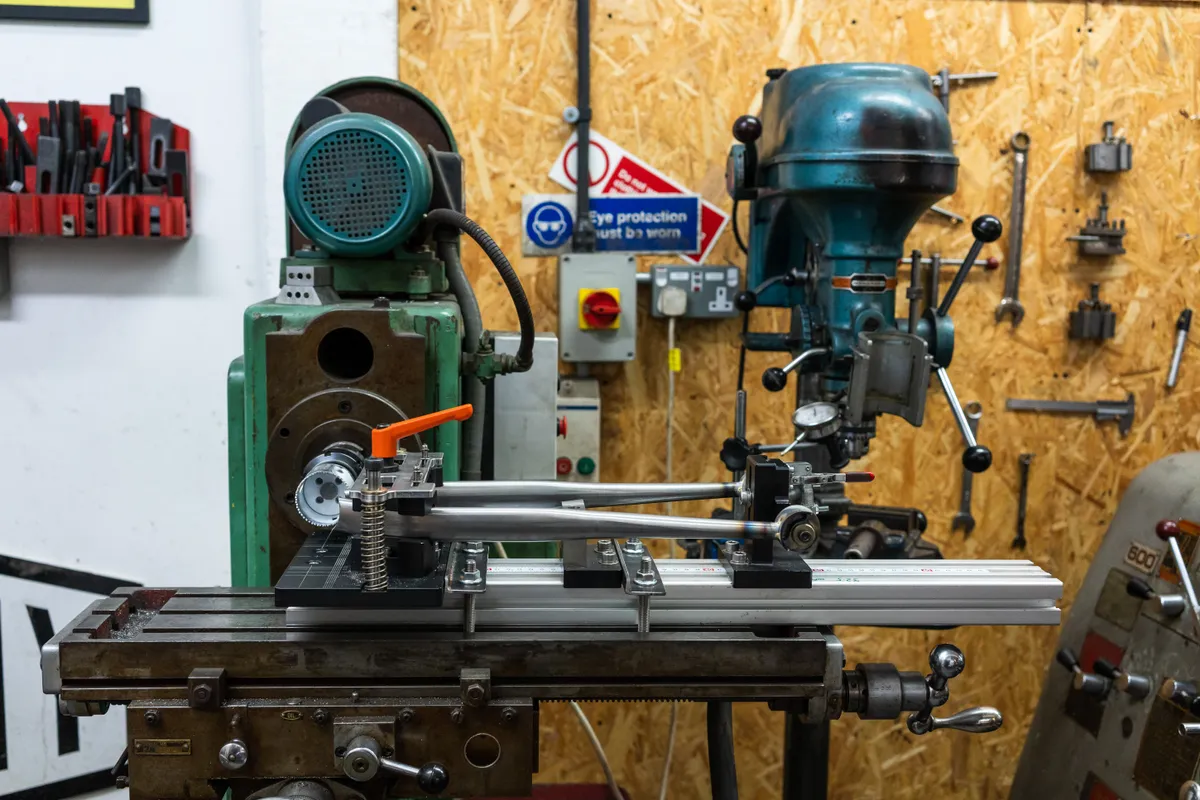
We used a milling machine with a hole saw attachment to ensure our chainstay mitres were perfect and symmetrical. Photo: Ben Ripley
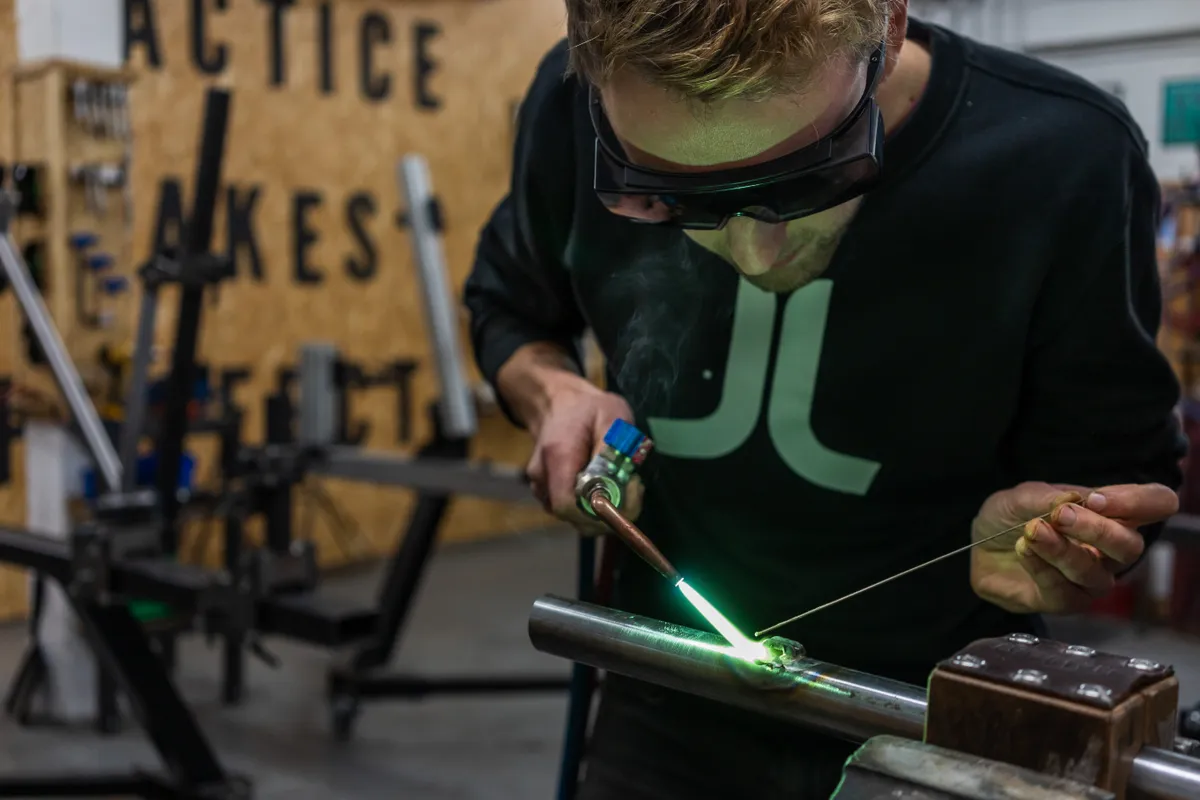
Ed puts his brazing to the test under the watchful eye of TBA's Tom Study. Photo: Ben Ripley
With the tubing held in perfect alignment by the jig, tacks of brass are added to hold everything in place before it's removed and fully brazed. Photo: Ben Ripley
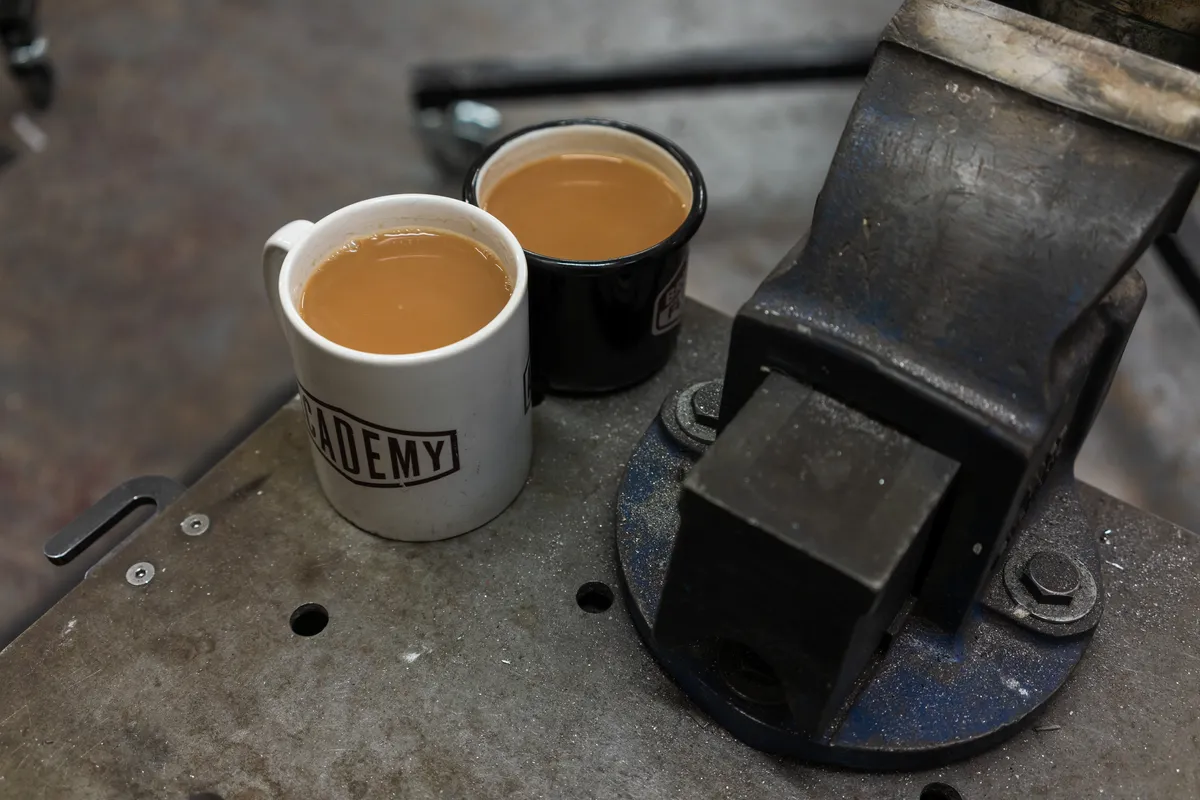
Tea (and copious amounts of it) an essential for successful bike building. Photo: Ben Ripley
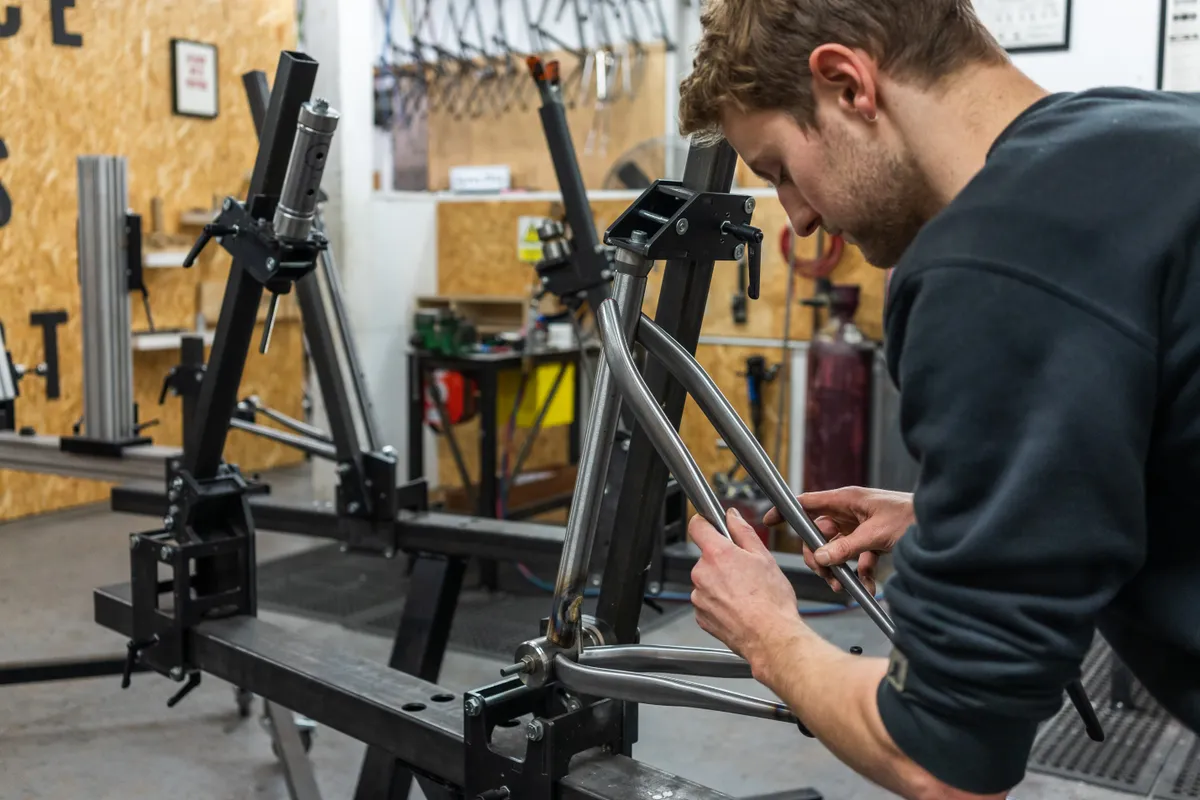
Checking the fit of the seat stays. Photo: Ben Ripley
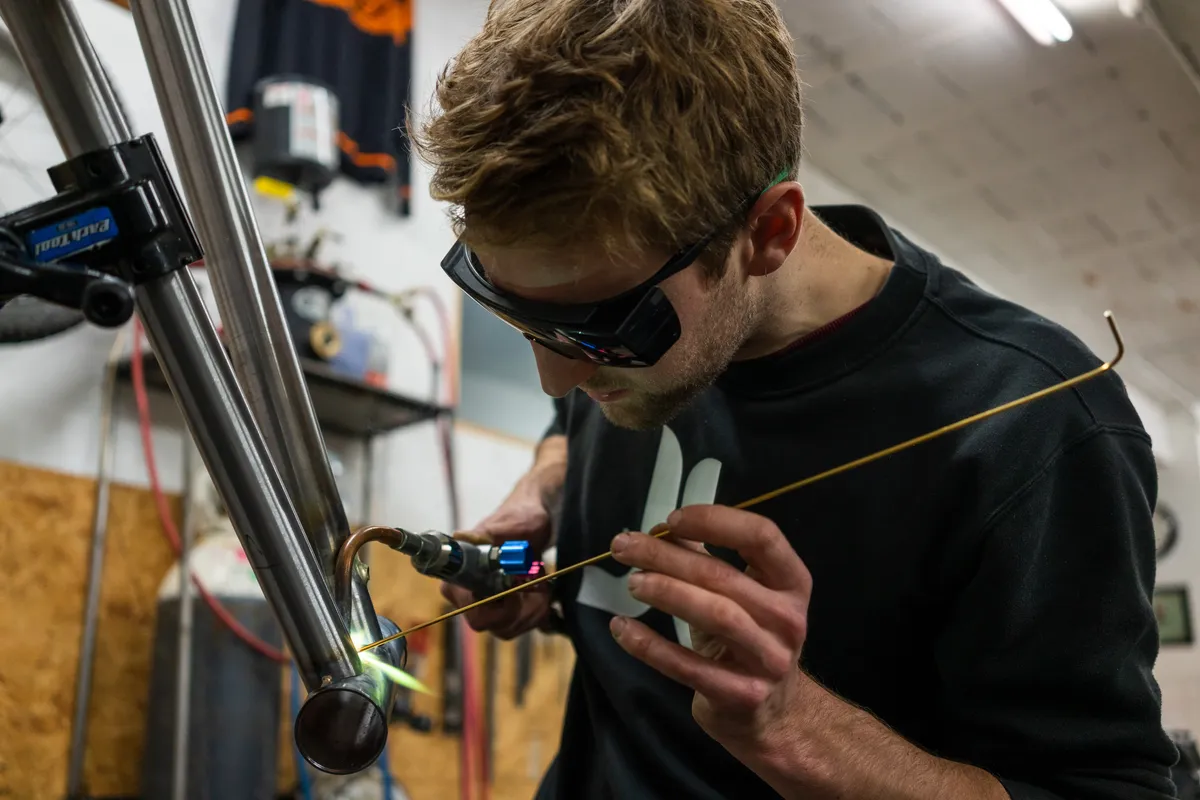
Adding cable guides with capillary brazing. Photo: Ben Ripley
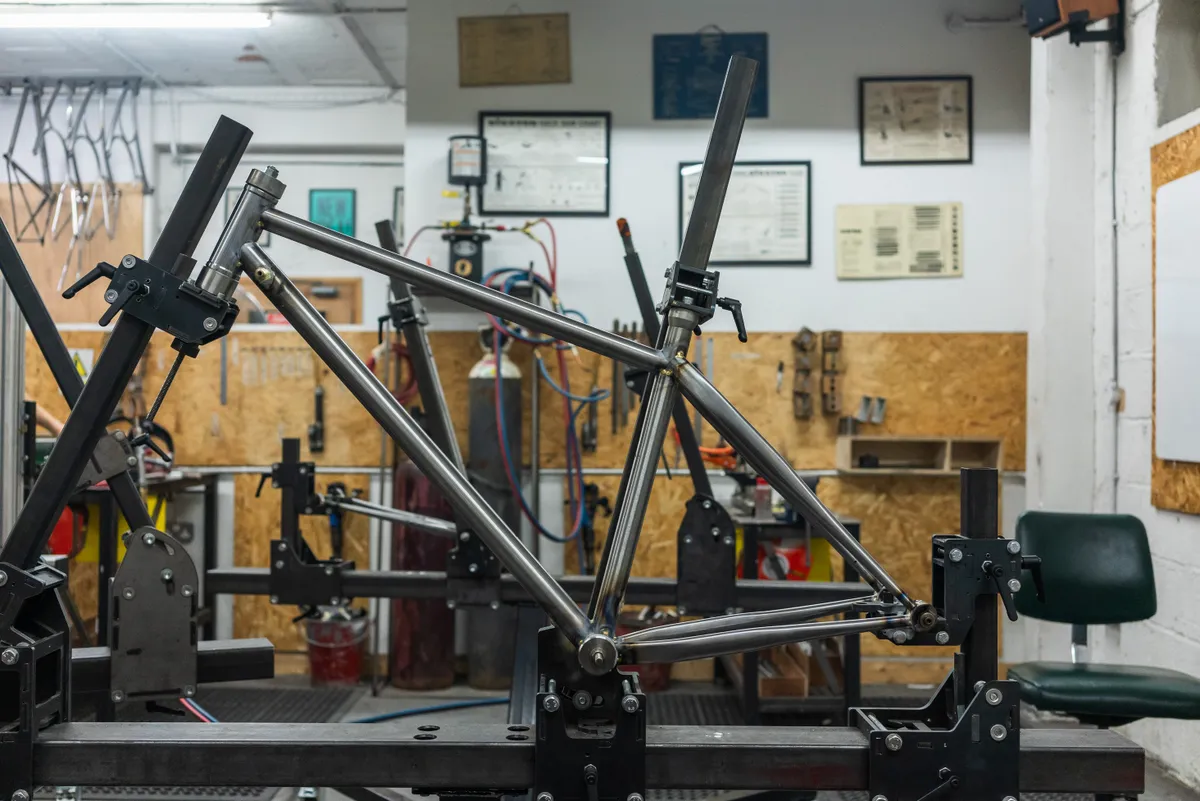
Our frame fully-tacked and ready to be brazed up proper. Photo: Ben Ripley
The frame is help in a bike stand and rotated frequently to help the brass filler rod flow right down into the 'root' of the joint and create a strong fillet. It's a tricky process that involves managing the heat going into both tubes to ensure the brass gets 'wetted out' evenly and forms a secure bond. Photo: Ben Ripley
Brazing uses temperatures of 3,200degrees Celsius, so heat distortion is inevitable. Alignment afterwards is an essential step. Photo: Ben Ripley
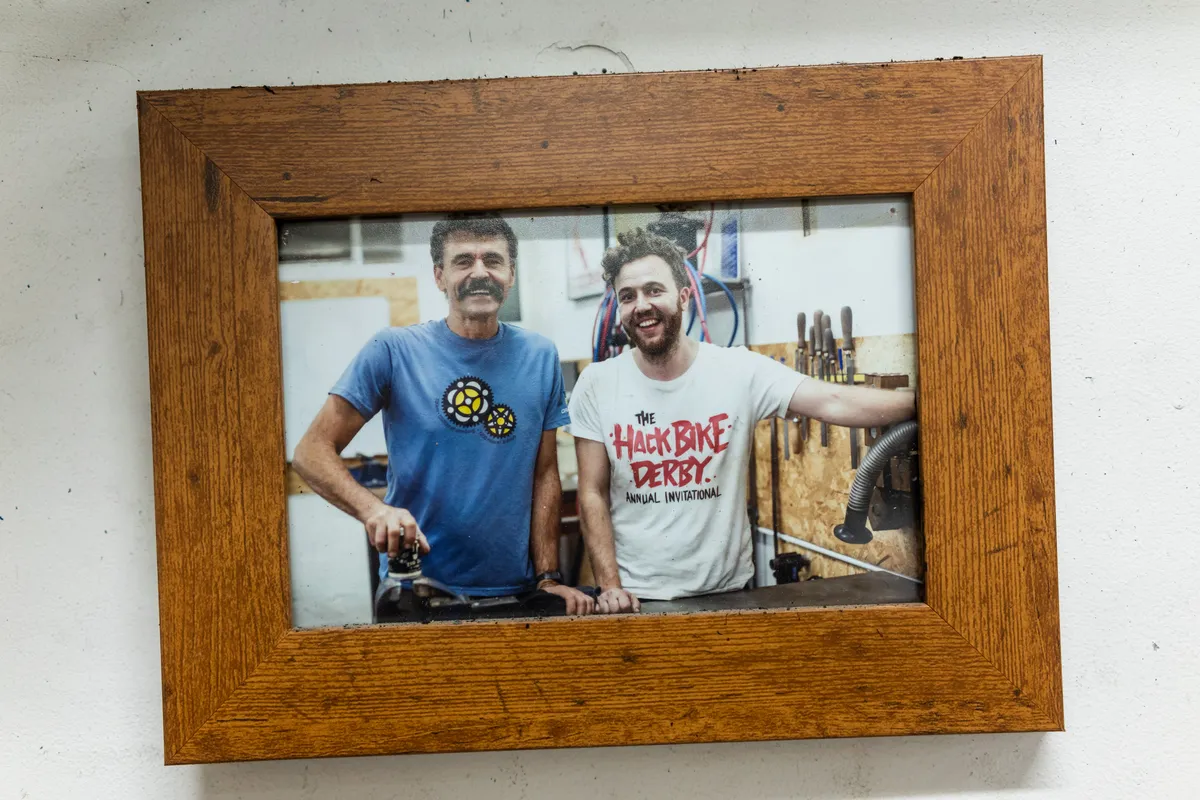
Andrew Denham is the man behind The Bicycle Academy. He believes in demystifying frame building and making it accessible to anyone. Photo: Ben Ripley
The Bicycle Academy has welcomed some famous names in the past. Here is none other than legendary MTB pioneer Tom Ritchey who visited Frome to give a masterclass on brazing. Photo: Ben Ripley
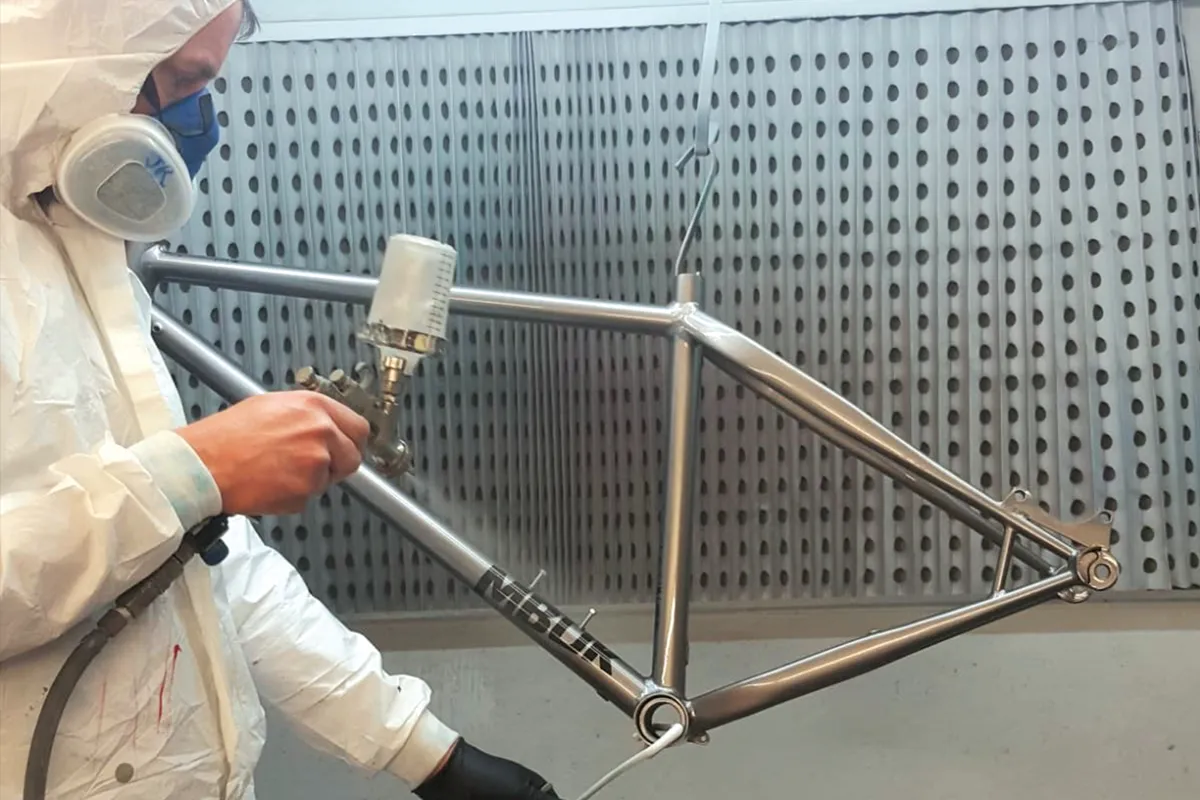
Jason Rourke from Blue Whippet Cycles giving our frame it's glossy gunmetal finish.
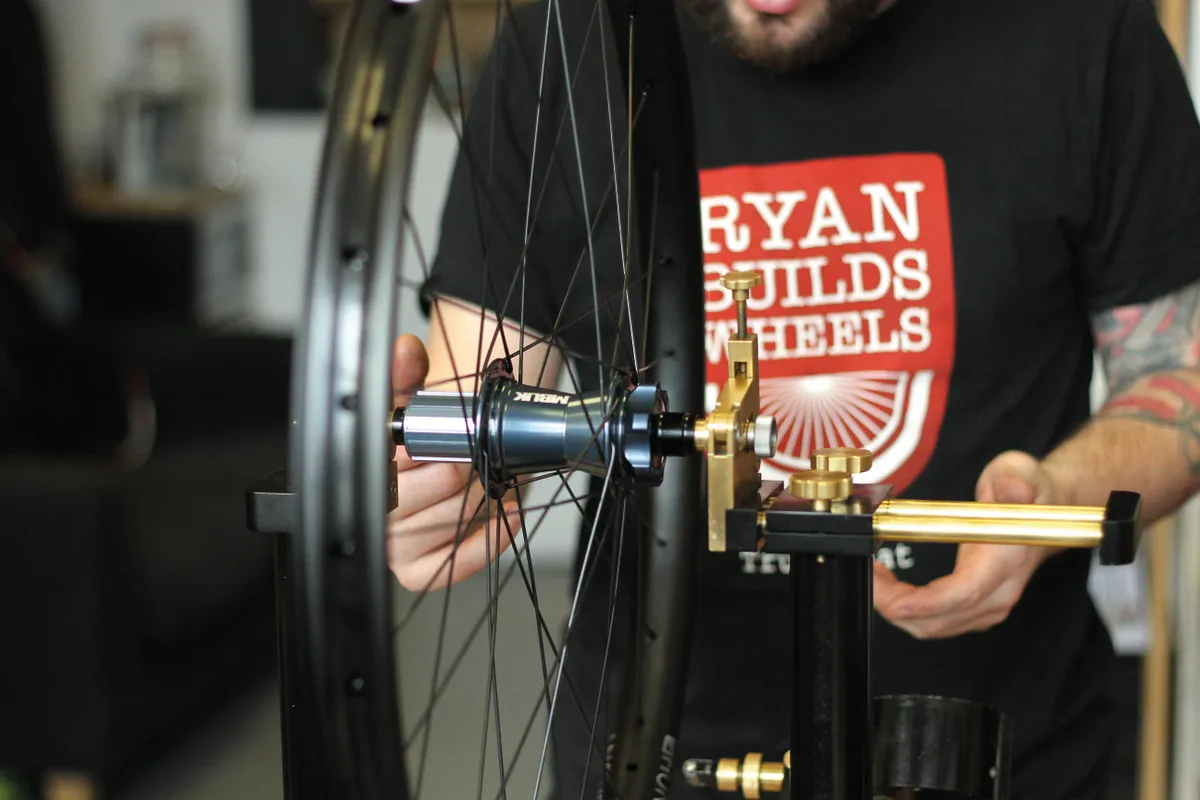
Bristol-based wheel builder Ryan Downes is a master of his art. Here he laces up and tensions our wheels to within a human hair's width of perfectly true!
Geometry
Reach: 450mm
Chainstay: 415mm
Wheelbase: 1,159mm
Seat angle: 76 degrees
Head angle: 64 degrees
Seat tube: 440mm
Top tube (effective): 608mm
Head tube: 120mm
Bottom bracket drop: 56mm
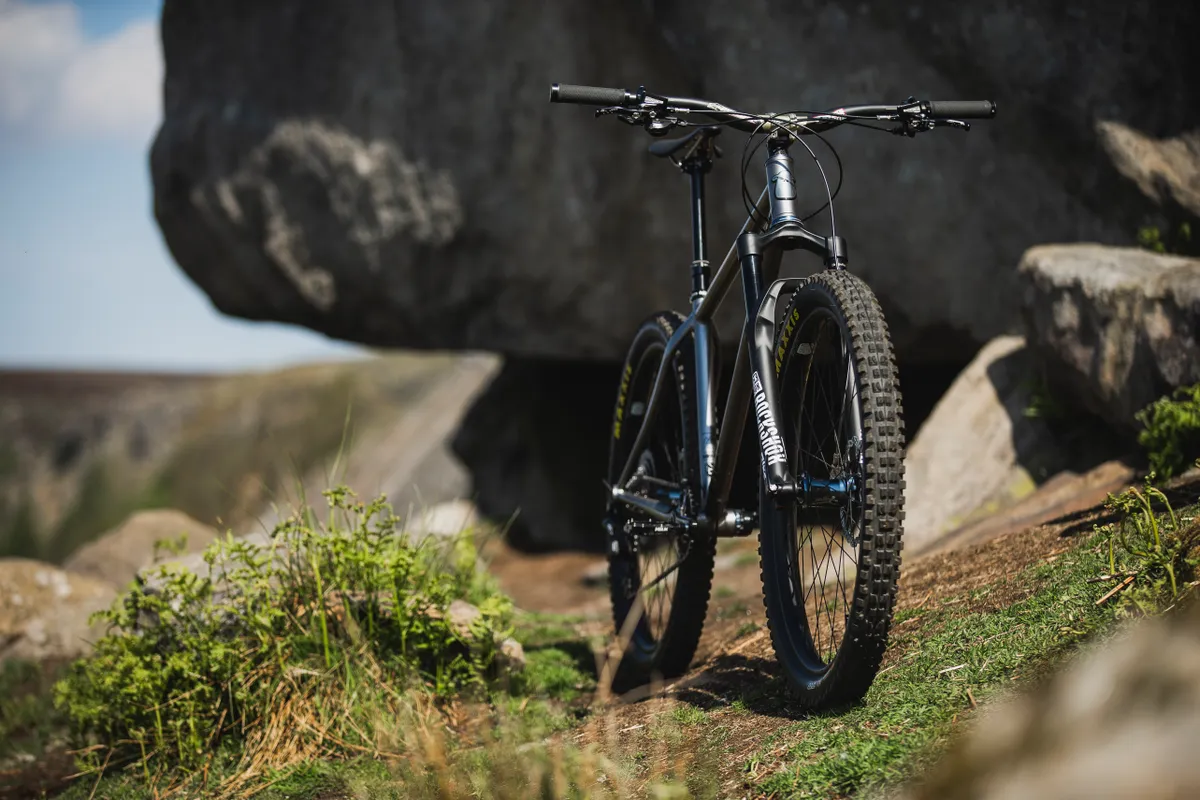
The finished bike sitting pretty and awaiting its first ride in the Peak District. Photo: Dan Hearn
The maker's mark. Thanks to the Bicycle Academy for all their tuition in helping us make this frame and Blue Whippet Cycles for bringing it to life with this immaculate paint job. Photo: Dan Hearn
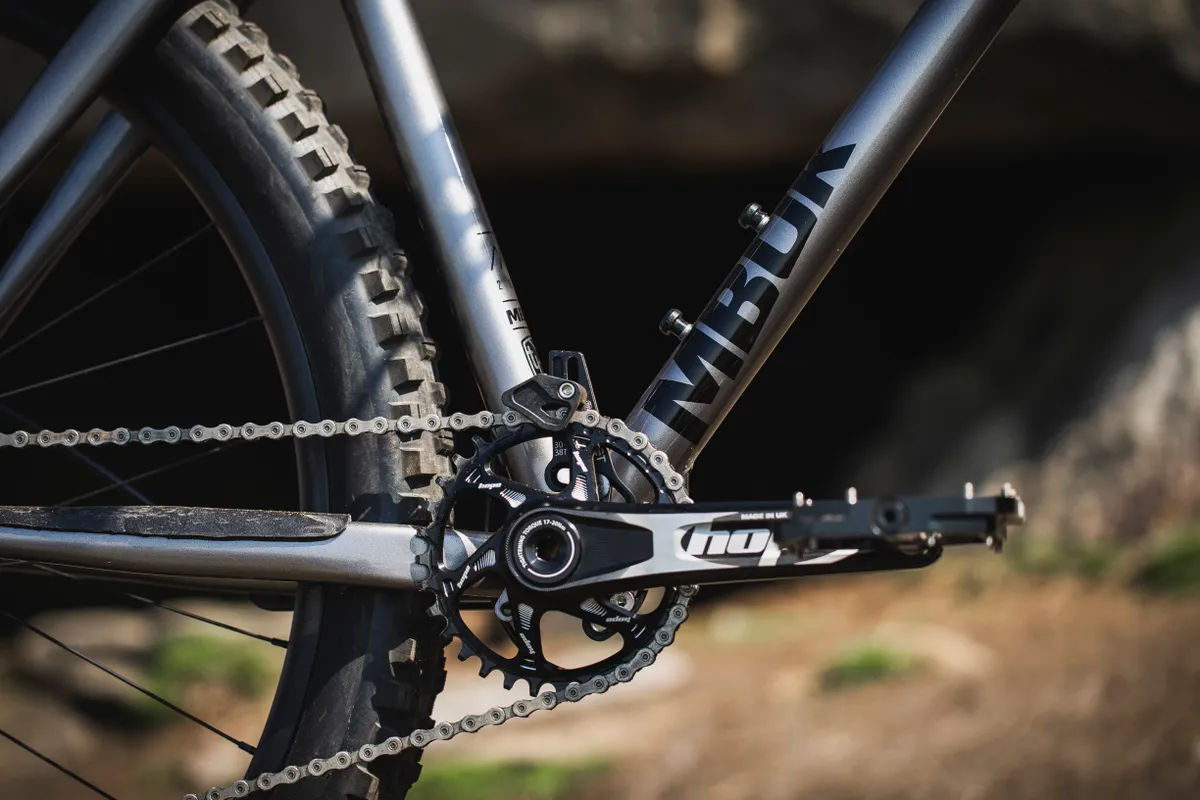
A slammed-short rear end keeps the handling super snappy, whilst Hope's crankset and direct-mount chainring handles the pedal power. A Gusset Lil' Chap chain guide keeps the chain where it should be. Photo: Dan Hearn
Rideworks hubs laser-etched with our logo. Photo: Dan Hearn
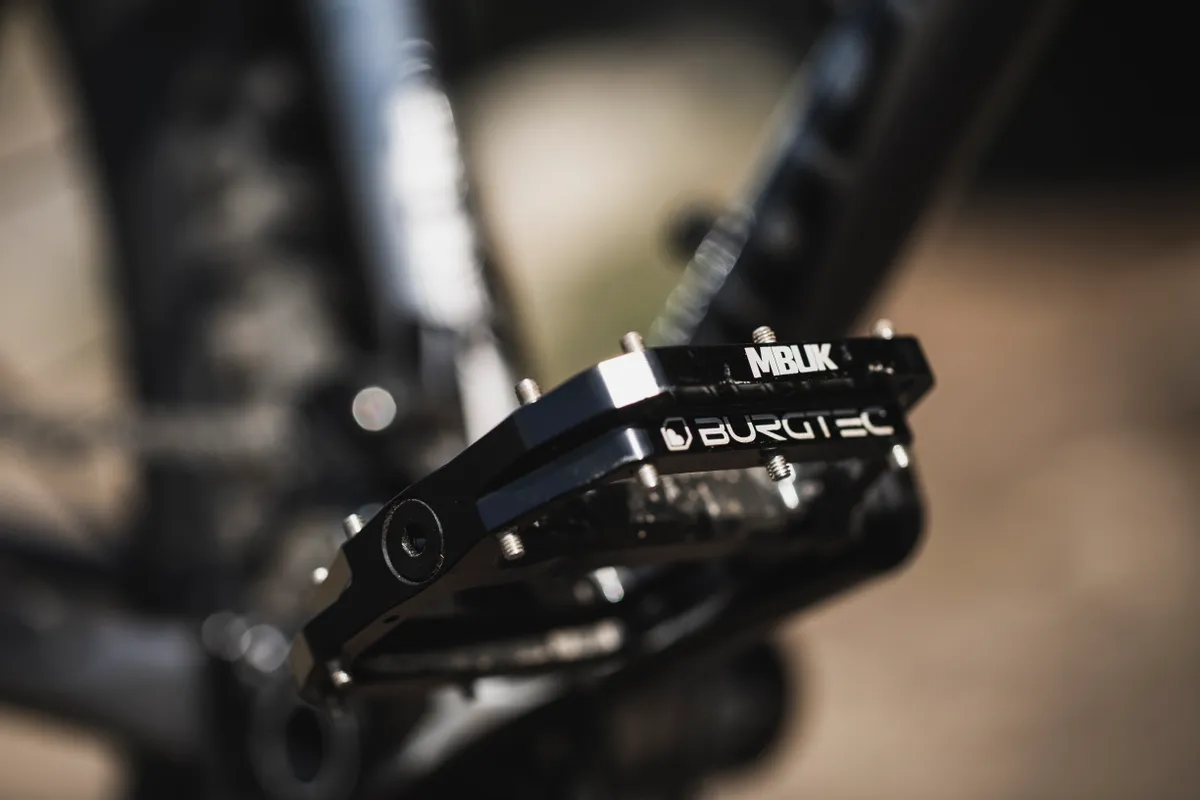
More custom engraving, this time on some of our favourite flat pedals – Burgtec's Penthouse MK4. Photo: Dan Hearn
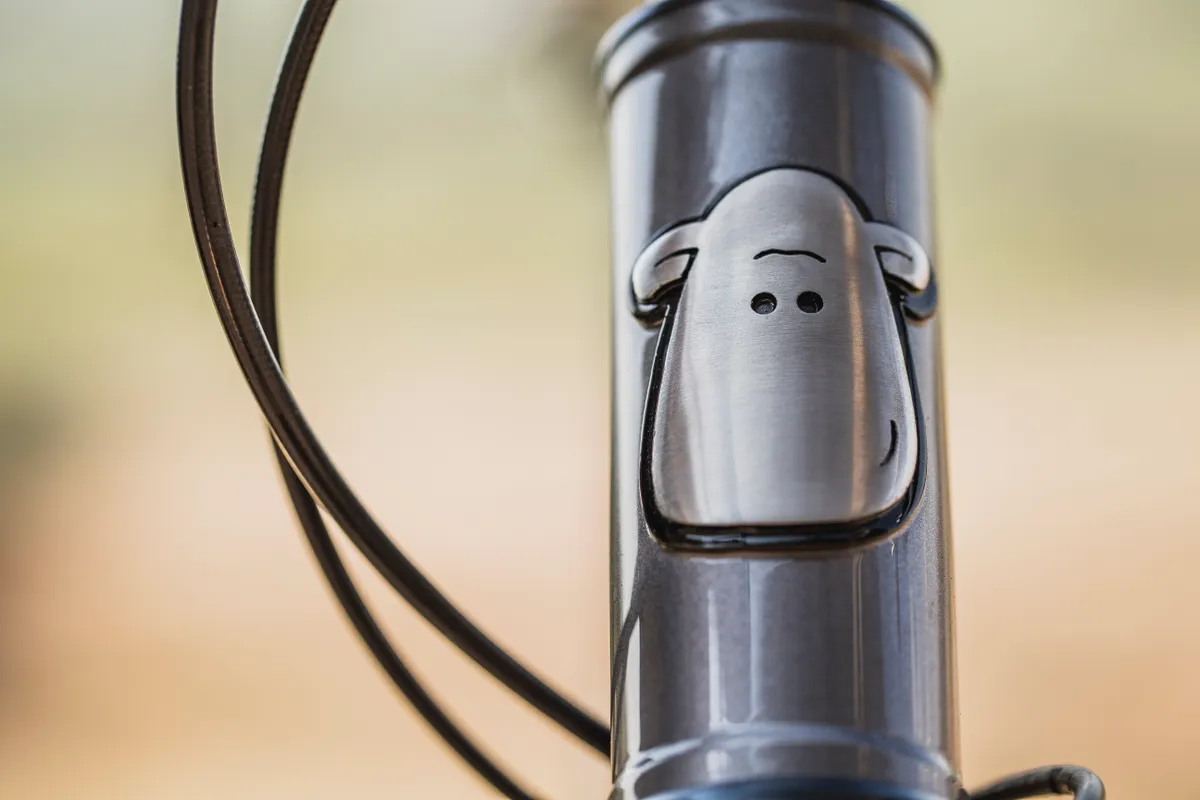
What other option could there be for the headtube badge, besides our much-loved wooly mascot Mint Sauce? Photo: Dan Hearn
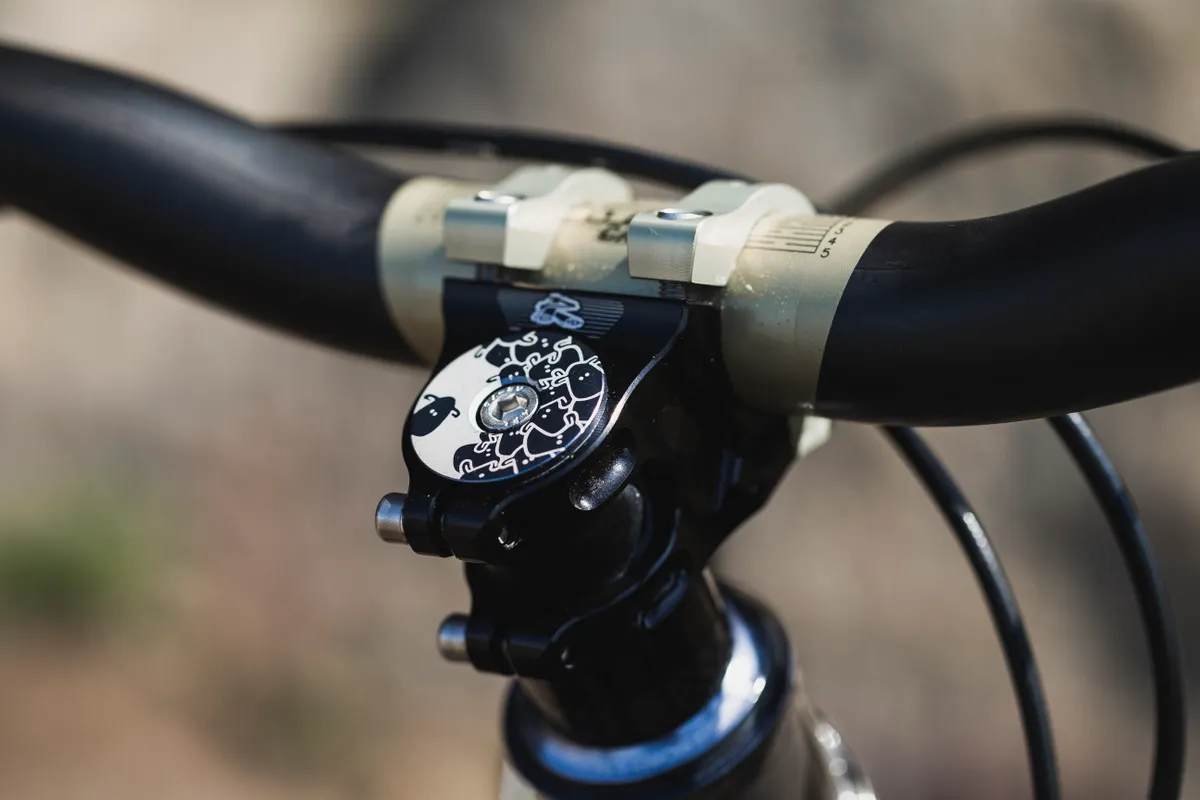
A Renthal cockpit finishes the bike off and a flock of Mint Sauce heads on the headset top cap, courtesy of Superstar Components. Photo: Dan Hearn
Forks and tyres are two products that we simply don't make in the UK. We were forced to look overseas, so we opted for some tried and tested favourites – a Rock Shox Pike RCT3 fork and Maxxis Minion DHF and DHRII tyres. Photo: Dan Hearn
Spec deck
Frame: Reynolds 853 front triangle, Columbus rear stays
And here it is! Our Great British Hardtail on the cover of our summer issue. Pick up a copy to read all about what happened when we finally swung a leg over the bike.
If this has inspired you to have a go yourself at making your own fully-custom, one-off bike, then why not do what we did and book yourself on to one of The Bicycle Academy's courses. These Somerset-based frame builders are at the top of their game when it comes to teaching and they offer a range of courses. Click here for more info.
You can subscribe to MBUKhere and check out our Facebook, Instagram and Twitter accounts for all of the latest mountain bike action.
Former Mountain Biking UK features editor Ed Thomsett is a downhiller at heart but has been riding bikes of all types since a young age. He's raced both nationally and internationally in downhill and enduro, and has spent several summers living in the Alps and Canada, riding, roadtripping and living the dirtbag lifestyle. Now Ed calls upon his years of experience riding bikes to the limit as a writer and reviewer for MBUK and BikeRadar. He's also an avid trail builder and has scraped out numerous steep and technical lines in the woodlands of his native North Yorkshire. These days Ed will happily turn his hand to any discipline and believes the sign of a good week is when every bike in his shed ends up muddy by the end of it.
MBUK's Great British Hardtail
Sven Martin
This website is owned and published by Our Media Ltd. www.ourmedia.co.uk