Have you ever stopped to watch other riders at your local trail centre and really observed how their bikes are working? It’s amazing how many are set up poorly, with the suspension either wallowing or pumped up so hard that the rider looks like they’re manhandling a jackhammer. Whether the issue is limited time, lack of understanding or simple eagerness to ride rather than fiddle, nearly all of us have neglected our fork and/or shock set-up at some stage. Which is crazy, given how much our bikes cost and how long we spend deliberating over which one to buy. But after reading this, you’ll have no excuses.
The basics
Before we dive into how you can make your bike perform better, it’s important to understand a few basics. The internals of a suspension fork may look pretty daunting, but the principles are actually pretty simple. In one leg, you have the spring. This is either a metal coil or a pressurised air chamber. The weight of the coil or the volume of air dictates how hard the fork feels. In the other leg are all the bits needed to control (‘damp’) the spring’s movement. This is all done through the flow of oil.

Generally, when you compress a fork (by pushing down on it, riding over a bump or landing from a jump), oil is forced through tiny holes (‘ports’) and over washers of different sizes and thicknesses (‘shims’). The speed at which it can flow determines how fast the fork will compress and re-extend (‘rebound’). By opening and closing the ports or adjusting the amount of force needed for the oil itself to open them, you can control how the fork feels in different situations. External adjusters allow you to do this without disassembling everything.
In reality, it’s a bit more complicated than that, but those are the basic principles. In a rear shock it’s the same, except that everything is consolidated into one unit. See, it’s pretty easy really!
Getting started
1. Setting the sag
Initial fork and shock set-up is simple too. You start by setting the ‘sag’ – the amount your suspension compresses when you sit on the bike. Having your suspension partially compressed to begin with is what allows the wheels to track the ground, smoothing out holes as well as bumps and giving you grip. How much sag you should run is specific to each bike and rider, and manufacturers’ guidelines should only be used as a starting point. As a general rule of thumb, try the following:
Trail riding 20% to 25% fork sag, 30% shock sag
Downhill 15% to 20% fork sag, 30% to 35% shock sag
Cross-country 25% fork sag, 20% to 25% shock sag
To set your sag, get dressed in your usual bike gear and stand on the pedals in a neutral riding position.

Use the rubber O-ring around your fork/shock stanchion to record how much it sags (or a tape measure for a coil shock).
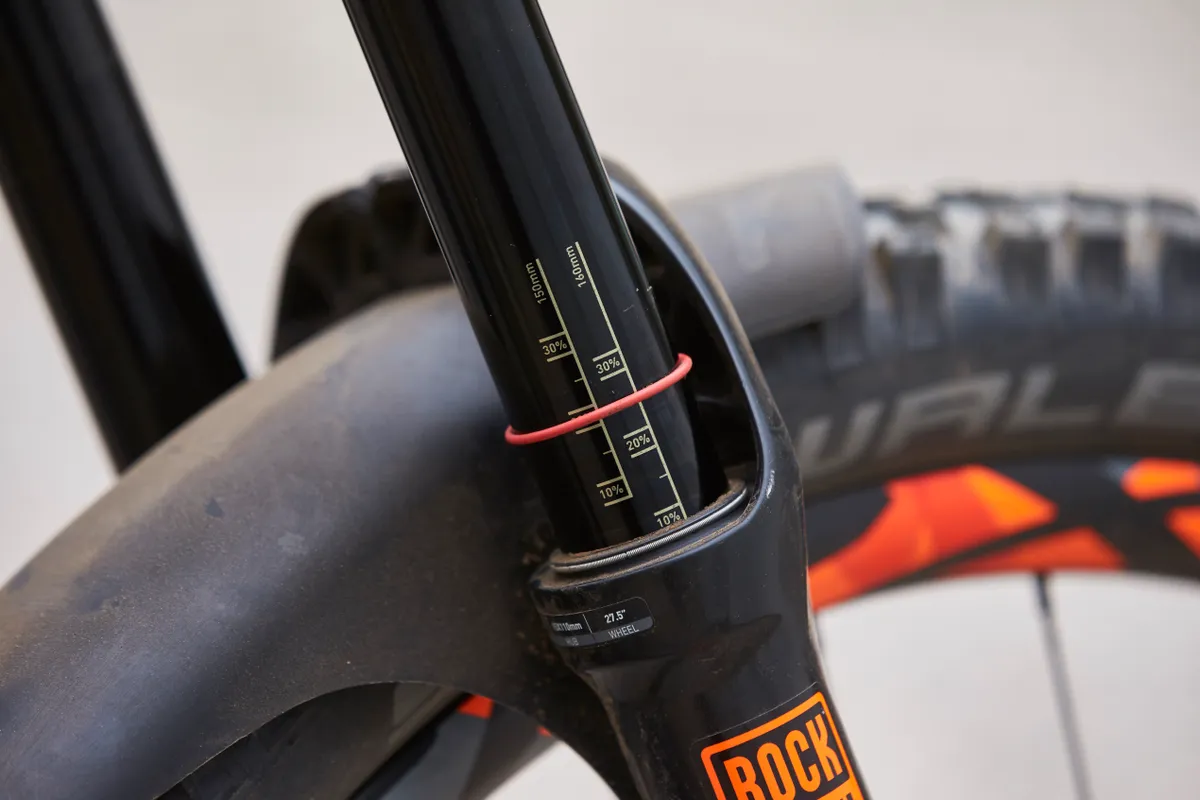

For an air-sprung unit, use a shock pump to adjust the pressure. For coil-sprung forks and shocks, it’s just a case of fitting the right weight spring for your weight. If you fall between spring weights, you’ll need to dial on a bit of preload (effectively pre-compressing the spring) to compensate.
2. Adjust the damping
You’ll hear the terms ‘low-speed’ and ‘high-speed’ bandied around a lot. They have nothing to do with how fast you’re going, but rather how fast the suspension is compressing or rebounding. Low-speed shaft movements are generally forces that you exert on the bike – by pumping, pedalling or loading it through a corner. High-speed movements are everything else – trail chatter, landing a jump or rattling across roots. Top-end forks and shocks will often have separate dials to adjust all the variables independently, while entry-level kit will generally just have low-speed rebound and compression adjusters.
Rebound speed can make a big difference to traction. Set it too fast and your bike will bounce around with little grip. Conversely, set it too slow and your suspension will still be partially compressed when you hit the next bump and will feel harsh. Compression damping alters the way your bike behaves in different situations. It shouldn’t be used to compensate for it being set up too soft though, so get the sag right first. Start from the fully open position (no damping) and adjust in small increments. We’d advise using minimal high-speed compression but adding some low-speed damping if you want more support for pumping and jumping, or to reduce pedal bob on climbs.
3. Volume spacers
While air-sprung systems are generally accepted as not being as sensitive as their coil equivalents, a big advantage of them (and a reason that some pros favour them) is that volume spacers can be added into the air chamber to make the fork or shock ramp up as it goes through its stroke. This means that you can run more sag to improve small-bump sensitivity and grip, but still get mid-stroke support and bottom-out resistance. As a general rule, the more aggressively you ride, the more volume spacers you'll need to fit, but it's really a case of going on feel, so don't be afraid to experiment.
For more suspension set-up tips, check out this video from our tester Seb:
Going nowhere?
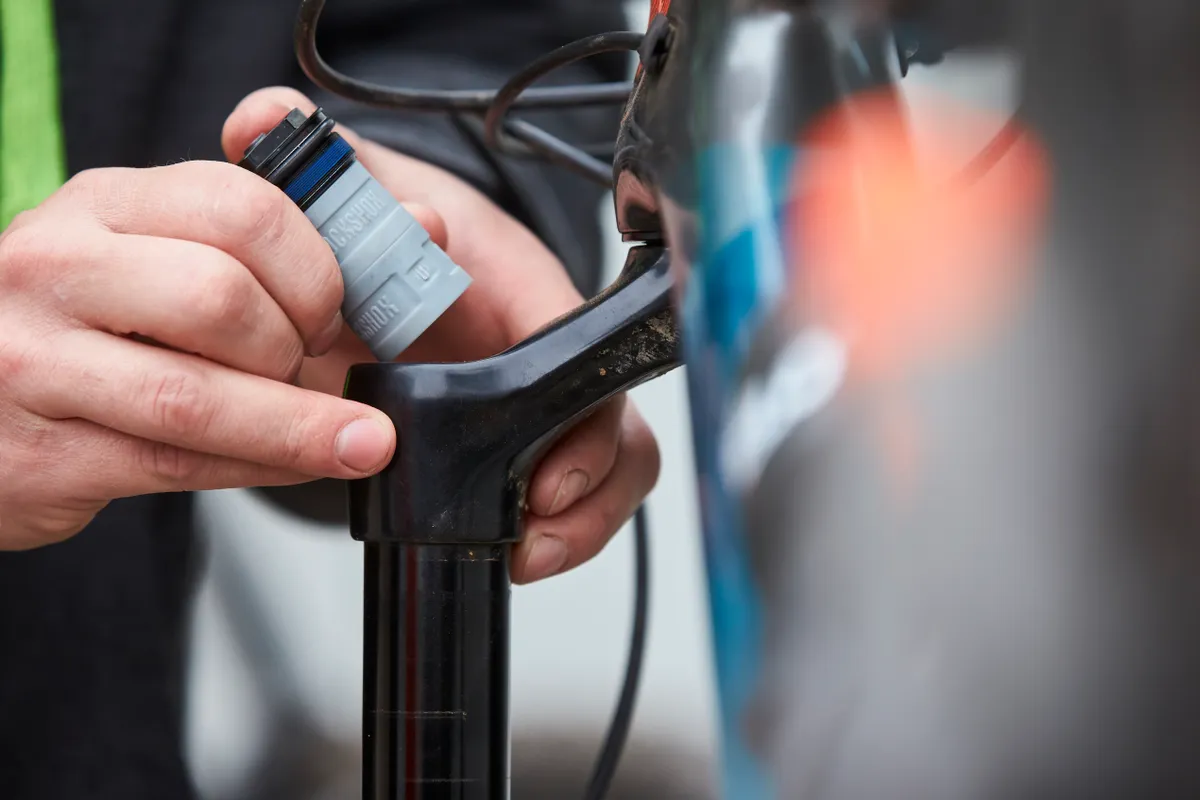
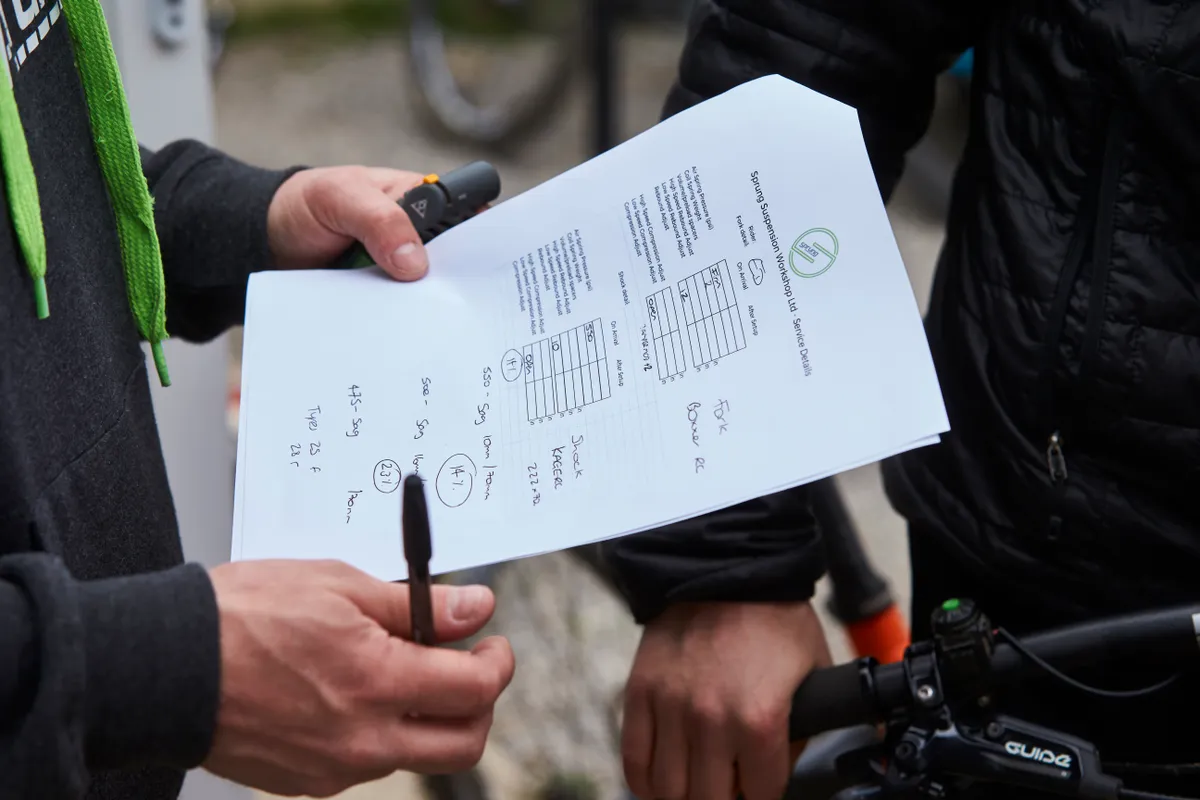
If you’ve done all that and you feel your bike still isn't working as it should, maybe it’s time to enlist the help of an expert? People often balk at the idea of spending money on suspension tuning. But when you’ve shelled out thousands on a bike or the best part of a grand on a fork, it can be a sound investment. There are several suspension tuning companies in the UK that offer bike set-up clinics. These can range from a short session to set up the basics through to in-depth testing and custom internal tuning. For example, Forest of Dean-based Sprung Suspension charge £200 for a three-hour session (minimum two riders).

Do it yourself
Expert help isn’t essential, though, and a bit of know-how and some willing mates can go a long way. To set up your own ‘suspension clinic’, select a track that has a good variety of terrain and take it in turns to do runs, while someone watches or films you using a smartphone. Playing the footage back in slow-motion will allow you to see just how the suspension is behaving. This is a great way to discover any flaws with your set-up, and to isolate the effects of any changes that you make.


Be sure to keep tyre pressures constant, because they have a big effect on damping. Don’t be afraid to experiment, but do it in small increments and keep a note of all your air pressures and settings. What you’re aiming for is to find a good base setting that can be tweaked to suit different trails and conditions.

Consider booking an uplift day and using it to focus on set-up. That way, you can hammer out multiple runs of the same track, trialling different settings while keeping the other variables the same. If you’re still having trouble, Quarq’s ShockWiz system is good for getting you in the right ball park. It’s pricey, but could be worth it if you split the cost with some mates. Some shops hire the units out.

We reckon you’ll be amazed at what difference a good suspension set-up makes, and you’ll be going faster and having more fun in no time. Who knows – you may even be a world champ yet!

Jargon Buster
Sag: Amount your suspension compresses when you sit on the bike. Optimal level depends on bike model, riding discipline and personal preference, but 20 to 30 per cent is a good place to start.
Spring rate: How hard your suspension is. Setting the spring rate – by altering the air volume or switching to a different weight coil – is what determines how much sag you get.
Preload: Partial compression of a spring before any rider force is added. Used to fine-tune the spring rate of coil shocks when the rider’s weight puts them between two different spring weights. More preload means more force is required to get the suspension moving. Shouldn’t be overused – if you find yourself adding lots of preload, you should probably change to a harder spring.
Low-speed damping: Controls how the suspension reacts to low-shaft-speed movements caused by pedalling, pumping, cornering, etc.
High-speed damping: Affects the suspension’s response to high-shaft-speed movements caused by hitting obstacles, landing from jumps, etc.
Shim stack: Shims are thin metal washers used to restrict oil flow in a damper. When a fork or shock compresses, the shims deflect to allow a set amount of oil to pass through. Varying the way they’re stacked on top of each other lets you fine tune the feel of the suspension, but requires serious know-how to get right.
Linear: Leverage curve that means a fork or shock requires the same amount of force to compress it, no matter where it is in its stroke. Coil springs are nearly always linear.
Progressive: Leverage curve that means a fork or shock requires increasing force to compress it as it gets further into its stroke. Air shocks are naturally progressive, and most suspension designs have some progression built in, to varying degrees. This allows them to be supple over small bumps but not bottom out on big hits.
Volume spacers: These can be used to adjust the progression of an air-sprung fork or shock. Adding spacers reduces the air volume and makes the spring ramp up more. Removing them makes the fork/shock more linear.
This article originally appeared in issue 349. You can find back issues of MBUK here.